Trying to learn how to do HDR imaging has brought me hours of fun. I want to share this fun with anybody interested in getting stress out of their system.
For beginners like me, the first step is to get a program that automatically does most of the work. A friend of mine, Orthus, has been trying to convince me of using Adobe Photoshop CS5 & Lightroom, but the price is just out of my software range. There's good news. Luminance HDR is a free open source solution that works in Linux/Win 7/Mac operating systems. Luminance integrates many open source solutions that get calibration curves from the raw exif, mask and combine the raw files, tone maps the resulting HDR image and exports it into a LDR images.
You can download the program here. You can find compiled binaries for your favourite Linux distro and just double-click on them. If you are using Win 7 just uncompress the file and copy it into your a directory of your choosing—I put mine on C:\Luminance HDR\—afterwards just right-click on the executable, select Create Shortcut and copy the result into your favourite location; this way you can access the executable easily.
Now, it's time to work; Luminance allows composition from both HDR (raw/pfs/tiff16&32) and LDR (jpeg/png/tiff8) files. I'm gonna work with the raw files but will post here reduced jpeg files—lower size and density with GIMP.
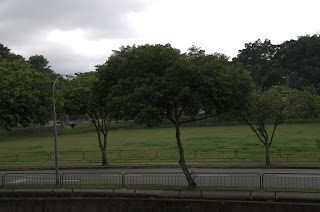 |
| Under-exposed -2EV |
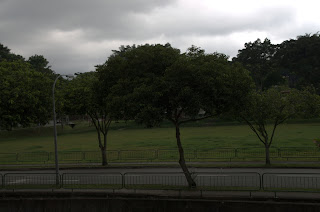 |
| Under-exposed -1EV |
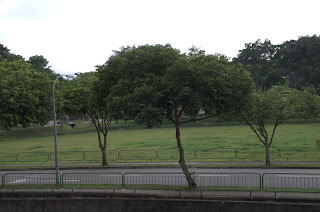 |
| Normal Exposure 0EV |
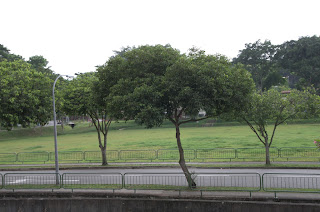 |
| Over-exposed +1EV |
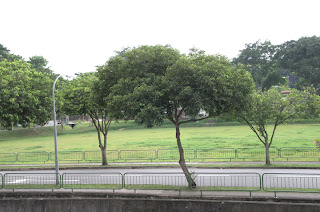 |
| Over-exposed +2EV |
Now, it is time to open Luminance HDR and choose New HDR Image from the tool bar; this opens up a new window where we can choose the five raw files to compose our HDR image, just click on Load Images and voilá. Once the images are loaded you will see that each has and exposure number increasing in steps of 1 EV—Luminance grab these numbers from the image's exif— In case it doesn't happens in your case, you can set the exposure manually with the slider on the right. Click Next. Do not choose the alignment option unless you have a pretty damn awesome great machine; the aligning algorithm is computational intensive.
Now that we are in the second window of the HDR creation wizard, choose the predetermined Profile 1, click Finish and wait for the result. The time has come to play with the result. The first thing that you will notice in the tool bar is the green histogram on top of the composed HDR image. You can click on it and slide the blue window left/right. This will affect how light/dark the image appears; move it left, the image becomes lighter, move it right and the image becomes darker. You will notice a button that most probably is saying Gamma1.4, this is the mapping that Luminance used to compose your image. You can play with this too, the options are linear, gamma, and logarithmic from darker to lighter results. Find the one that pleases you the most. I'm gonna go for light, so logarithmic it is. Save the resulting image as HDR file.
The next, and final, step is choosing the tone mapping that gives you the effect that you look, click on the button Tonemap HDR image at the right of the tool bar and enjoy sliding bars; here are some examples:
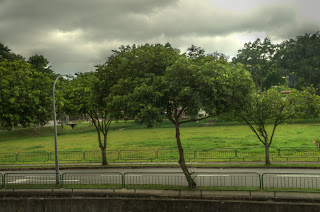 |
| Mantiuk'06, Contrast Factor 0.5, Saturation Factor 1.3, Detail Factor 5, Pre-Gamma 0.9 |
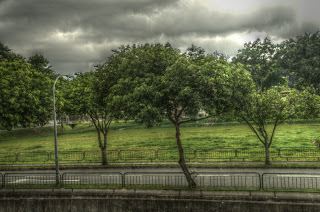 |
| Mantiuk'06, Contrast Factor 0.1, Saturation Factor 1, Detail Factor 5, Pre-Gamma 0.9 |
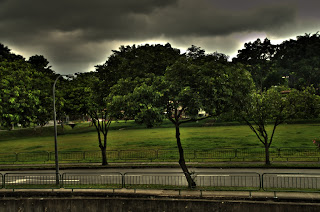 |
| Old Fattal pre 1.8.4, standard parameters. |
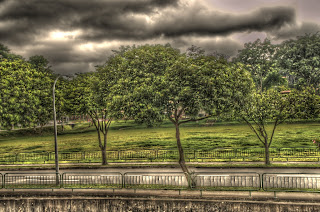 |
| Fattal, Alpha 1, Beta 0.75, Color Saturation 0.57, Noise Reduction 0 |
As you can see, you can get images from the natural to the eerie— I like the first and the last the most— just by playing with the parameters of the different tone maps. I apologize for the ghosting in the image, it seems like it was a windy morning when I shoot them.
I hope this helps you as much as it helps me. I have found an amazing therapy in playing with the camera and software; it takes the edge off at the end of the day.
No comments:
Post a Comment